
Choosing fixtures, tiles, and other materials is a significant part of this planning stage. Homeowners should consider the durability and maintenance of materials, especially in a high-moisture environment like a bathroom. For example, porcelain tiles are often favored for their water resistance and variety of styles.
Additionally, creating a budget is essential to avoid overspending. This budget should encompass all aspects of the renovation, including materials, labor, and unexpected costs that may arise during the project. Establishing a timeline is equally important; it helps manage expectations and ensures that the renovation progresses smoothly without unnecessary delays.
Key Takeaways
- Planning and Design: The first step in a Brooklyn bathroom renovation is to plan the new layout, choose fixtures and materials, and create a budget and timeline.
- Demolition and Removal: The next step involves removing existing fixtures, tiles, and materials in a safe and environmentally friendly manner.
- Plumbing and Electrical Work: Updating or installing new plumbing and electrical systems to accommodate the new layout and features of the bathroom is crucial.
- Installation of Fixtures and Features: Installing new bathtub, shower, toilet, sink, lighting, mirrors, and storage solutions is the next step.
- Tiling and Flooring: The final steps include tiling the walls and floors, grouting, sealing, and creating a waterproof and durable finish.
Demolition and Removal: Once the planning and design phase is complete, the next step is to remove the existing fixtures, tiles, and other materials from the bathroom. This demolition process can be both exciting and daunting, as it marks the transition from an outdated space to a fresh canvas for the new design. Homeowners often find themselves faced with the task of tearing out old walls, floors, and plumbing fixtures.
It’s essential to approach this phase with caution; proper safety gear should be worn to protect against dust and debris. Additionally, if the renovation involves structural changes, consulting with a professional contractor can help ensure that the work complies with local building codes.
Disposing of debris in a safe and environmentally friendly manner is another critical aspect of this phase. Many Brooklyn homeowners opt for dumpster rentals or hire waste removal services that specialize in construction debris. This not only keeps the work area organized but also ensures that materials are disposed of responsibly.
Salvaging usable items can also be an option; some fixtures or tiles may be repurposed or donated to local charities. This approach not only reduces waste but can also contribute to a more sustainable renovation process.
Plumbing and Electrical Work: After the old materials have been removed, the next step is to update or install new plumbing and electrical systems. This phase is often considered one of the most complex parts of a bathroom renovation due to the technical skills required. Homeowners may need to move existing pipes or drains to accommodate new layouts, which can involve cutting into walls or floors.
It’s crucial to hire licensed plumbers who understand local codes and regulations to ensure that all work is performed safely and correctly. For instance, if a homeowner decides to install a double vanity, additional plumbing will be necessary to support two sinks.
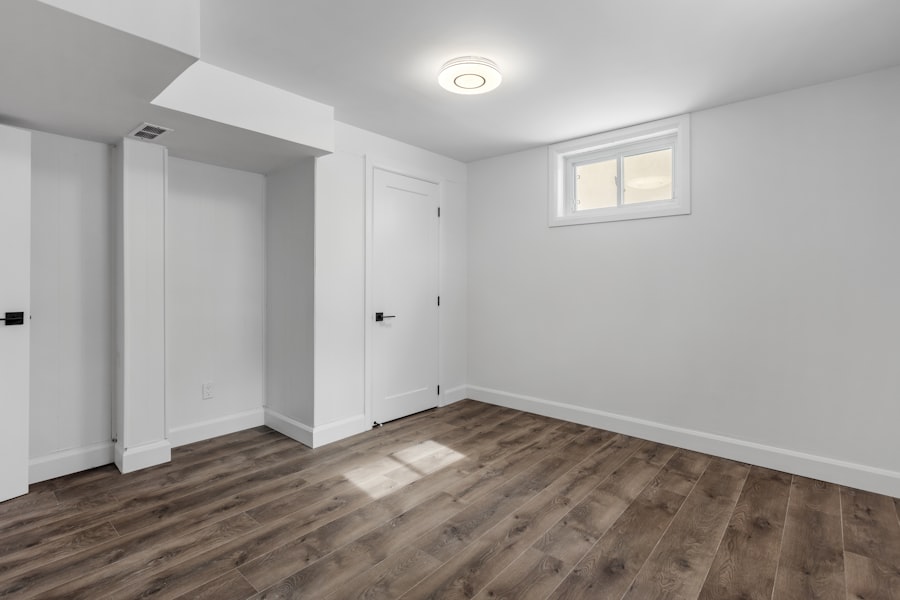
Electrical work is equally important in this phase. Updating or adding new electrical outlets can enhance functionality, especially in modern bathrooms where charging devices has become commonplace. Installing adequate lighting is also essential; many homeowners opt for layered lighting solutions that include ambient, task, and accent lighting to create a well-lit space.
This might involve installing recessed lighting in the ceiling while adding sconces beside mirrors for better visibility during grooming tasks. Ensuring that all electrical work meets safety standards is paramount; improper installations can lead to hazards such as electrical fires.
Installation of Fixtures and Features: With the plumbing and electrical work complete, the next step is to install the new fixtures and features of the bathroom. This stage brings the design vision to life as homeowners see their plans materialize into reality. The installation process typically begins with larger fixtures such as bathtubs and showers, which require precise placement to ensure proper drainage and functionality.
For example, if a homeowner chooses a freestanding tub, it must be positioned correctly to allow for easy access to plumbing connections.
In addition to bathtubs and showers, installing toilets and sinks follows closely behind. Many homeowners are now opting for water-efficient models that not only conserve water but also contribute to lower utility bills over time. The installation of these fixtures often requires careful attention to detail; ensuring that seals are tight can prevent leaks that might lead to costly repairs down the line.
Furthermore, adding new lighting fixtures, mirrors, and storage solutions enhances both functionality and aesthetics.
Tiling and Flooring: Once the fixtures and features are in place, the next step is to tile the walls and floors of the bathroom. Tiling is not just about aesthetics; it plays a crucial role in waterproofing and protecting surfaces from moisture damage. Homeowners often choose ceramic or porcelain tiles for their durability and ease of maintenance.
The selection process can be overwhelming due to the vast array of colors, patterns, and sizes available on the market today. Some may opt for classic white subway tiles for a timeless look, while others might choose bold patterned tiles to make a statement.
The installation process involves careful planning to ensure that tiles are laid out evenly and aligned properly. This often requires measuring and cutting tiles to fit around corners or fixtures seamlessly. Grouting is another critical step; it fills in gaps between tiles and provides additional waterproofing.
After grouting, sealing the tiles can further enhance their durability and resistance to stains or moisture penetration. The flooring must also be addressed during this phase; many homeowners prefer slip-resistant tiles for safety reasons, especially in wet areas like bathrooms.
Painting and Finishing: After the tiling and flooring are complete, the next step is to paint the walls and ceiling of the bathroom.
Light colors can make a small bathroom feel more spacious, while darker hues can add depth and sophistication.
Homeowners often experiment with different paint finishes; semi-gloss or satin finishes are popular choices for bathrooms due to their moisture resistance and ease of cleaning.

In addition to painting, adding finishing touches such as trim and molding can elevate the overall design of the space. Crown molding can create an elegant transition between walls and ceilings, while baseboards can provide a polished look at floor level. These details may seem minor but can significantly impact the final appearance of the bathroom.
Homeowners might also consider adding decorative elements like wall art or plants to infuse personality into the space.
Final Inspections and Touch-Ups: Once the painting and finishing are complete, the next step is to have the bathroom inspected to ensure that it meets building codes and safety standards. This inspection process is vital for ensuring that all plumbing and electrical work has been completed correctly and safely. Many municipalities require permits for bathroom renovations; therefore, having an inspection can help avoid potential fines or issues when selling a home in the future.
After passing inspection, any necessary touch-ups or adjustments can be made to ensure that everything functions as intended. This might include tightening fixtures, adjusting cabinet doors, or fixing any minor imperfections in paint or tile work. It’s essential for homeowners to take their time during this phase; ensuring that every detail is perfect will contribute to their overall satisfaction with the renovation.
Completion and Clean-Up: The final step in a Brooklyn bathroom renovation is to complete any remaining tasks, such as installing accessories and hardware, and to clean up the work area. Accessories like towel bars, toilet paper holders, and shower curtains not only enhance functionality but also add style to the space. Choosing these elements carefully can tie together the overall design theme established during planning.
Cleaning up after a renovation is often an overlooked but crucial task. Removing debris, dusting surfaces, vacuuming floors, and ensuring that everything is in order prepares the bathroom for use. Homeowners may find it helpful to create a checklist of tasks that need completion before officially declaring their renovation finished.
This attention to detail ensures that they can enjoy their newly renovated bathroom without lingering messes or unfinished projects lingering in their minds.
If you are considering a bathroom renovation in Brooklyn, you may also be interested in learning about the timeline and expectations for the renovation process. ESG Builders Ltd. provides a helpful article on their website titled The Brooklyn Renovation Timeline: What to Expect. This article outlines the steps involved in a renovation project and gives you an idea of what to expect throughout the process. It can be a valuable resource as you plan your bathroom renovation project.
FAQs
What is the typical timeline for a bathroom renovation in Brooklyn?
The typical timeline for a bathroom renovation in Brooklyn can vary depending on the scope of the project, but it generally takes around 4-6 weeks to complete.
What are the key steps involved in a bathroom renovation in Brooklyn?
The key steps involved in a bathroom renovation in Brooklyn include planning and design, demolition, plumbing and electrical work, installation of new fixtures and finishes, and final touches and cleanup.
How long does the planning and design phase of a bathroom renovation in Brooklyn typically take?
The planning and design phase of a bathroom renovation in Brooklyn typically takes 1-2 weeks, during which time the homeowner and contractor will work together to finalize the design and select materials.
How long does the demolition phase of a bathroom renovation in Brooklyn typically take?
The demolition phase of a bathroom renovation in Brooklyn typically takes 1-2 days, during which time the old fixtures and finishes are removed to make way for the new.
How long does the plumbing and electrical work phase of a bathroom renovation in Brooklyn typically take?
The plumbing and electrical work phase of a bathroom renovation in Brooklyn typically takes 1-2 weeks, during which time any necessary changes or upgrades are made to the existing systems.
How long does the installation of new fixtures and finishes phase of a bathroom renovation in Brooklyn typically take?
The installation of new fixtures and finishes phase of a bathroom renovation in Brooklyn typically takes 1-2 weeks, during which time the new materials are installed and the space begins to take shape.
How long does the final touches and cleanup phase of a bathroom renovation in Brooklyn typically take?
The final touches and cleanup phase of a bathroom renovation in Brooklyn typically takes 1-2 weeks, during which time any finishing touches are made and the space is thoroughly cleaned and inspected.