
The journey of transforming a bathroom begins with a thoughtful design and layout. This initial phase is crucial as it sets the foundation for the entire renovation process. Homeowners often start by assessing their current bathroom space, identifying what works and what doesn’t.
For instance, a cramped layout may necessitate a reconfiguration to enhance flow and accessibility. A common approach is to create a floor plan that maximizes space while ensuring that essential elements like the shower, toilet, and sink are conveniently located. This might involve moving plumbing lines or even altering the room’s dimensions if possible.
In addition to functionality, aesthetics play a significant role in the design phase. Homeowners often draw inspiration from various sources, such as magazines, online platforms like Pinterest, or even visits to showrooms. The choice of style—be it modern, traditional, or eclectic—will influence the selection of materials and fixtures later on.
For example, a modern design might incorporate sleek lines and minimalistic features, while a traditional layout could favor ornate details and classic color palettes. The initial design should also consider lighting, ventilation, and storage solutions, ensuring that the new bathroom will not only look good but also serve its purpose effectively.
Key Takeaways
- Careful planning and consideration of the initial bathroom design and layout is crucial for a successful renovation project.
- Demolition and removal of old fixtures should be done carefully to avoid damage to surrounding areas and to ensure a smooth transition to the next phase.
- Plumbing and electrical work are essential components of the renovation process and should be handled by experienced professionals to ensure safety and functionality.
- Choosing new materials and finishes is a key step in transforming the look and feel of the bathroom, and should be done with the overall design aesthetic in mind.
- The installation of new fixtures and cabinetry is the final step in bringing the new design to life, and should be done with precision and attention to detail for a polished result.
Demolition and Removal of Old Fixtures
Planning and Execution
However, it requires careful planning and execution to avoid damaging plumbing or electrical systems that will remain in place. Protective gear is essential during this phase, as dust and debris can pose health risks.
Removal Process
The removal process typically starts with the disconnection of plumbing fixtures such as sinks and toilets. This may require shutting off the water supply and using specialized tools to detach pipes without causing leaks. Once the plumbing is addressed, old tiles are often removed using chisels or tile removal tools, which can be labor-intensive but necessary for a clean slate. Additionally, cabinetry may need to be dismantled carefully to salvage any usable materials or to make disposal easier.
Inspection and Preparation
This phase not only clears the space but also allows for a thorough inspection of underlying structures, ensuring that any hidden issues can be addressed before moving forward.
Plumbing and Electrical Work
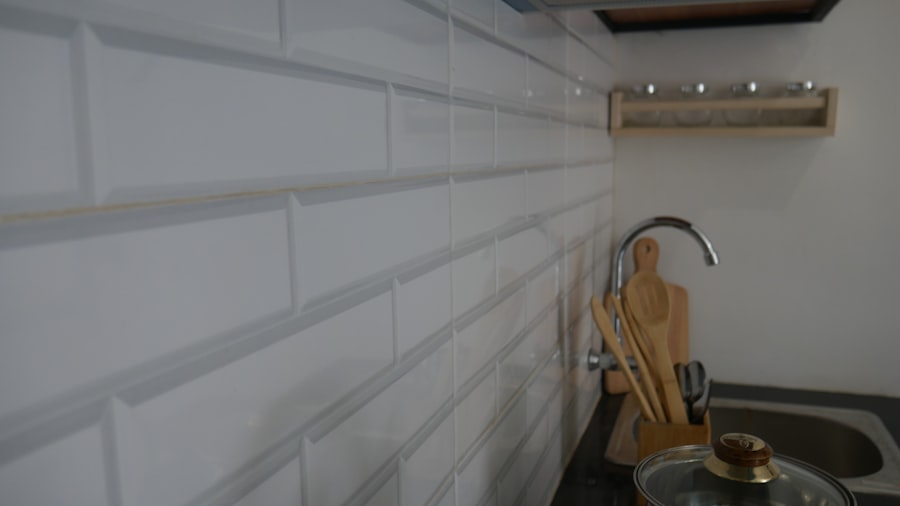
With the old fixtures gone, attention turns to plumbing and electrical work—two critical components that ensure the bathroom functions safely and efficiently. This stage often involves upgrading existing systems to meet modern standards or accommodate new fixtures. For instance, if a homeowner decides to install a double vanity instead of a single sink, additional plumbing lines may need to be installed.
This requires skilled labor to ensure that all connections are secure and leak-free. Electrical work is equally important during this phase. Homeowners may choose to add new lighting fixtures or outlets, especially if they plan to incorporate features like heated floors or advanced shower systems with built-in lighting.
It’s essential to adhere to local building codes when making these changes, as improper electrical work can lead to safety hazards. Hiring licensed professionals for both plumbing and electrical tasks is advisable; their expertise ensures that installations are compliant with regulations and function as intended.
Choosing New Materials and Finishes
Selecting new materials and finishes is one of the most enjoyable aspects of a bathroom renovation. This stage allows homeowners to express their personal style while considering practicality and durability. The choices made here will significantly impact the overall look and feel of the space.
Natural stone tiles like marble or granite can add luxury but require more upkeep. In addition to tiles, finishes for fixtures such as faucets, showerheads, and cabinet hardware should be chosen carefully.
A cohesive color scheme can tie the entire design together; for instance, pairing brushed nickel fixtures with soft gray cabinetry creates a modern yet timeless aesthetic. Homeowners should also consider textures—matte finishes can provide a contemporary feel, while polished surfaces may evoke a more classic vibe. Ultimately, the selection process should balance aesthetics with functionality, ensuring that materials can withstand the humid bathroom environment while still looking beautiful.
Installation of New Fixtures and Cabinetry
With materials selected, the installation phase begins—a critical step that brings the design vision to life. This process typically starts with larger fixtures such as bathtubs and showers before moving on to sinks and toilets. Proper installation is vital; for example, ensuring that a shower is level prevents water pooling and potential damage over time.
Skilled professionals often handle this work to guarantee that everything is installed correctly and functions as intended. Cabinetry installation follows fixture placement, providing essential storage solutions while enhancing the bathroom’s overall aesthetic. Custom cabinetry can be designed to fit specific spaces perfectly, maximizing storage without compromising style.
Homeowners may choose between open shelving for a more airy feel or closed cabinets for a streamlined look. The choice of cabinetry finish—whether painted, stained, or laminated—can dramatically affect the room’s ambiance. Once all fixtures and cabinetry are in place, it’s time for final adjustments to ensure everything aligns perfectly.
Adding Personal Touches and Decor

Accessories Make a Difference
After the major installations are complete, it’s time to infuse personal touches into the bathroom space. Accessories such as towels, rugs, and shower curtains can introduce color and texture into the room. For instance, vibrant towels can add a pop of color against neutral tiles, while plush rugs can create warmth underfoot.
Artwork and Decorative Items
Artwork and decorative items also play a significant role in personalizing the space. Wall art or framed photographs can transform bare walls into focal points that tell a story about the homeowner’s journey or interests.
Bringing Life into the Bathroom
Plants are another excellent way to bring life into a bathroom; they not only enhance aesthetics but also improve air quality. Choosing decor that complements the overall design theme—whether it’s coastal chic or urban modern—ensures that every element works harmoniously together.
Final Touches and Finishing Details
As the renovation nears completion, attention shifts to final touches and finishing details that elevate the overall look of the bathroom. This phase often includes installing mirrors, lighting fixtures, and any additional hardware that enhances functionality while contributing to aesthetics. Mirrors can serve both practical purposes—such as making the space feel larger—and decorative ones by adding elegance through unique shapes or frames.
Lighting is another critical aspect; layered lighting solutions can create ambiance while ensuring adequate illumination for tasks like grooming or applying makeup. Homeowners might choose sconces flanking mirrors for soft lighting or recessed lights for an unobtrusive look. Additionally, small details like cabinet knobs or drawer pulls can make a significant impact; selecting hardware that aligns with the chosen style can tie together various elements in the room seamlessly.
The Stunning Transformation: Before and After Comparison
The culmination of all these efforts results in a stunning transformation that often leaves homeowners in awe of their newly renovated bathroom. A before-and-after comparison highlights just how far the space has come—from outdated fixtures and cramped layouts to modern designs filled with light and functionality. Photographs taken during this phase can serve as powerful reminders of the journey undertaken; they capture not only the physical changes but also the emotional investment made throughout the renovation process.
For many homeowners, seeing their vision come to life is immensely satisfying. The new bathroom becomes more than just a functional space; it transforms into a personal sanctuary where they can unwind after a long day or prepare for busy mornings ahead. The successful renovation reflects careful planning, skilled execution, and an eye for design—elements that come together to create a space that is both beautiful and practical for years to come.
If you enjoyed reading about the stunning bathroom gut renovation in Brooklyn, you may also be interested in checking out ESG Builders Ltd’s portfolio of masonry projects. Their expertise in transforming spaces is evident in their work, and you can see more examples of their craftsmanship here. Additionally, their blog offers valuable insights and tips on home renovations, including kitchen remodeling. You can find more inspiration for your own projects by visiting their blog here.
FAQs
What is a bathroom gut renovation?
A bathroom gut renovation involves completely stripping the bathroom down to the studs and starting from scratch. This typically includes removing all fixtures, flooring, and walls, and then rebuilding the space with new materials and fixtures.
What are some common reasons for a bathroom gut renovation?
Common reasons for a bathroom gut renovation include outdated or deteriorating fixtures, a desire to modernize the space, the need for structural repairs, or to improve functionality and storage.
What are some key considerations for a bathroom gut renovation?
Key considerations for a bathroom gut renovation include budget, timeline, desired design aesthetic, necessary permits, and hiring a reputable contractor or design professional.
What are some popular trends in bathroom gut renovations?
Popular trends in bathroom gut renovations include the use of natural materials such as wood and stone, minimalist and spa-like design aesthetics, and the incorporation of smart technology and energy-efficient fixtures.
How long does a bathroom gut renovation typically take?
The timeline for a bathroom gut renovation can vary depending on the scope of the project, but it often takes several weeks to a few months to complete. Factors such as the size of the space, the extent of the renovations, and any unexpected issues can impact the timeline.