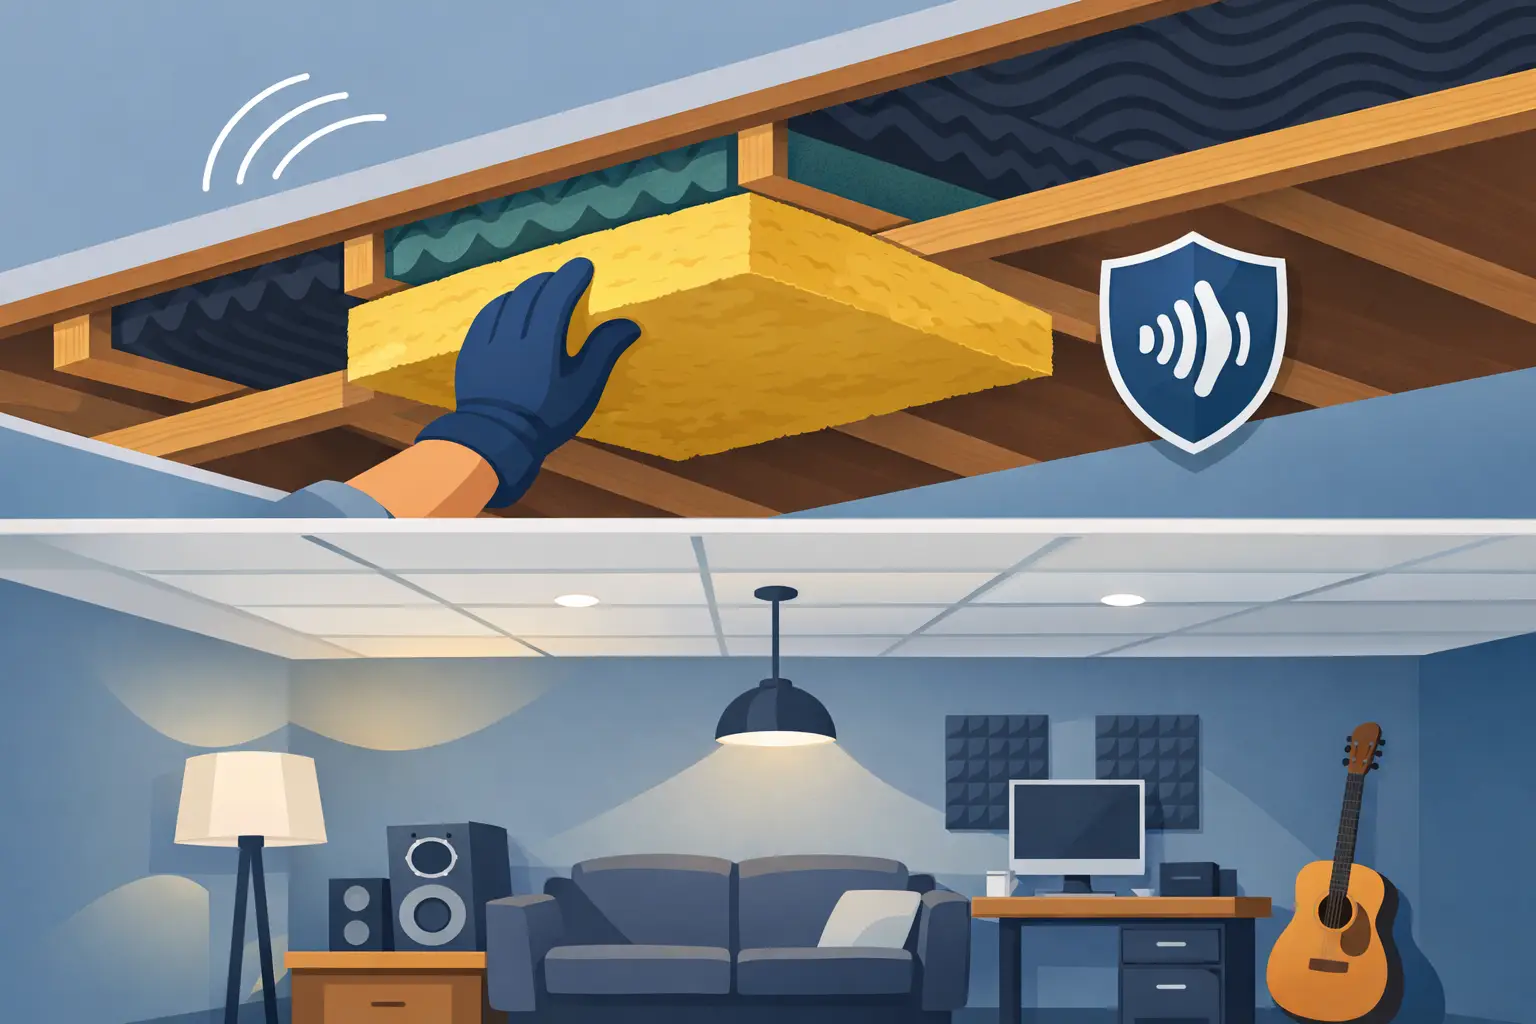
Footsteps overhead can make an otherwise beautiful basement feel like borrowed space. If you plan to use the lower level for a guest suite, home office, family room, gym, or media room, knowing how to soundproof a basement ceiling should be part of the renovation plan before walls and finishes go up.
For Brooklyn and NYC homeowners, the right solution is rarely a single product. Basement noise control comes from building the ceiling as a system: addressing the gaps where sound travels, adding mass, isolating finishes from framing, and treating the mechanical systems that can carry noise through the house. Done well, it creates a quieter lower level without creating avoidable problems with headroom, lighting, plumbing access, or building code requirements.
Start by Identifying the Noise You Hear
The best ceiling assembly depends on the type of noise you are trying to control. Airborne noise includes voices, television sound, music, and barking. It travels through air gaps, floor penetrations, ductwork, and lightweight ceiling materials. Impact noise includes footsteps, dropped objects, moving furniture, and children playing upstairs. It travels through the structure itself, which makes it more difficult to control from below.
A basement ceiling can reduce both types of noise, but the approach differs. Insulation inside the joist bays is particularly useful for airborne sound. Decoupling the new ceiling from the floor framing is more valuable for limiting vibration and impact noise. Adding dense layers helps with both.
This distinction matters because a contractor can install insulation and drywall correctly yet still leave a homeowner disappointed by heavy footfall from the floor above. Managing expectations at the design stage leads to a better investment and a more comfortable finished space.
The Most Effective Way to Soundproof a Basement Ceiling
The strongest results usually come from a layered ceiling system rather than one stand-alone material. A practical assembly often includes sound-absorbing insulation between joists, isolation clips and hat channels below the joists, two layers of drywall, and acoustical sealant around the perimeter and penetrations.
Each component has a specific job. Insulation reduces sound resonance inside the open joist cavities. Isolation clips and channels create separation between the drywall and wood framing, making it harder for vibrations to transfer directly through the ceiling. Two layers of drywall add mass, which blocks more airborne sound than a single layer. Acoustical sealant closes the small openings that can undermine the performance of the rest of the assembly.
For a basement intended as a theater, music room, or dedicated workspace, a sound-damping compound between drywall layers can further improve results. This material converts some vibration energy into low-level heat, helping the ceiling resist sound transmission without requiring a dramatically thicker assembly.
Use Mineral Wool or Fiberglass Insulation in the Joists
Mineral wool is a common choice for sound control because it is dense, friction-fits between joists, and also offers fire-resistant properties. Fiberglass acoustic batts can be effective as well. Neither material makes a ceiling fully soundproof on its own, but both are valuable parts of a complete system.
The key is full coverage. Gaps around ducts, pipes, and electrical boxes reduce performance. Insulation should fit snugly without being compressed, since crushing it can reduce its ability to absorb sound.
In older Brooklyn homes, open ceiling cavities often reveal irregular framing, legacy wiring, and plumbing changes from past renovations. This is one reason a site review is worth the time. The existing conditions determine whether the ceiling can be treated efficiently or whether repairs and rerouting should happen before the new assembly is installed.
Decouple the Drywall From the Floor Structure
Drywall fastened directly to ceiling joists is connected to the same structure that receives footsteps from above. Sound vibrations can move through that direct connection. Resilient channels or, more reliably, sound isolation clips with hat channels create a separation point between the framing and drywall.
This added separation is one of the most meaningful upgrades for a basement below active living areas. It does cost more than a standard drywall ceiling and lowers the finished ceiling slightly, usually by a few inches once all layers are included. In a low-ceiling basement, that trade-off needs careful planning.
A poorly installed channel system can perform worse than expected. Fasteners that accidentally touch the joists, tightly packed ceiling fixtures, or drywall that contacts surrounding walls can create sound bridges. Experienced installation is as important as the materials themselves.
Add Mass With Two Layers of Drywall
A single layer of standard drywall provides only limited sound control. Two layers are substantially more effective, especially when combined with decoupling and sealed edges. Type X drywall is frequently selected in basement work because it provides added fire resistance as well as mass.
The layers should be installed with staggered seams so openings do not line up. If a sound-damping compound is included, it is applied between the sheets according to manufacturer specifications. The perimeter should be sealed with acoustical sealant before final trim is installed.
Avoid assuming that thicker drywall alone will solve a noise problem. Mass helps, but it cannot compensate for gaps, direct structural connections, or an unaddressed duct that carries conversations from one floor to another.
Do Not Overlook Ducts, Pipes, and Recessed Lights
The ceiling field may be well built, but sound often finds the weak points around it. HVAC ducts are especially common pathways. A metal duct can transmit voices and television noise like a tube, while a large return grille can leave a direct opening between levels.
Depending on the layout, solutions may include lining ductwork with approved acoustic material, adding flexible duct connections where appropriate, relocating a return, or building a properly insulated soffit. Mechanical changes must preserve airflow and service access. Sound control should never come at the expense of safe HVAC performance.
Plumbing can also create disturbance, particularly drain lines from kitchens and bathrooms above. Wrapping accessible pipes with sound-control materials and placing insulation around them can soften water noise. If major plumbing work is already planned, upgrading pipe layout and supports may make more sense than trying to treat noise after the fact.
Recessed lights require special attention. Every fixture creates an opening in the ceiling, and standard housings can compromise the sound barrier. Surface-mounted lighting, carefully selected sealed fixtures, or acoustic enclosures can protect performance while keeping the basement bright and inviting.
Address the Upstairs Floor When Footsteps Are the Main Problem
If impact noise is the primary complaint, the floor above deserves attention too. A finished basement ceiling can improve footfall noise, but it cannot fully erase vibrations generated at the source.
Carpet with a dense pad, area rugs in high-traffic areas, and felt pads under furniture offer simple improvements. During a larger upper-floor renovation, an acoustic underlayment beneath new flooring can make a significant difference. Floating floor systems may also help, depending on the existing subfloor, finish material, and available height.
This is particularly relevant in compact NYC homes, where bedrooms, living rooms, and workspaces may sit directly over a newly finished basement. Coordinating improvements above and below provides more reliable results than treating only one side of the floor assembly.
Plan for Headroom, Access, and Local Requirements
Soundproofing adds thickness. Insulation sits inside the joists, but clips, channels, double drywall, and finished flooring above can affect the available ceiling height. Before selecting a high-performance assembly, measure the basement carefully and review the implications for door openings, stairs, beams, soffits, and code-required ceiling clearances.
Access is another practical concern. Water shutoffs, cleanouts, junction boxes, and mechanical equipment may need to remain reachable. Rather than installing random access panels after the ceiling is complete, plan discreet access locations during design. In some cases, a removable acoustic panel or a well-designed soffit is the better solution.
Basement renovations in Brooklyn may also involve permit requirements, fire-rated assemblies, electrical upgrades, egress considerations, and moisture control. Soundproofing should be coordinated with waterproofing and insulation work, not treated as a cosmetic add-on. A damp basement or unsealed foundation issue needs to be resolved before premium finishes are installed.
What Does Basement Ceiling Soundproofing Cost?
Costs vary based on ceiling area, existing conditions, desired performance, mechanical complexity, and finish level. Basic insulation and a standard drywall ceiling cost less, but deliver more modest noise reduction. A decoupled, double-drywall assembly with acoustic sealing, lighting coordination, and duct treatment is a larger investment that can make a finished basement feel far more private.
The most useful budget conversation starts with how the room will be used. A casual storage-to-lounge conversion may not require the same assembly as a home theater below a busy family room. For homeowners planning a full basement transformation, ESG Builders can coordinate the sound strategy with layout, lighting, waterproofing, flooring, and finish selections, keeping the project organized from the first estimate through completion.
A quieter basement is not about chasing perfect silence. It is about designing a space where conversations stay private, movie nights are more enjoyable, and the activity upstairs does not dictate how you use the level below.